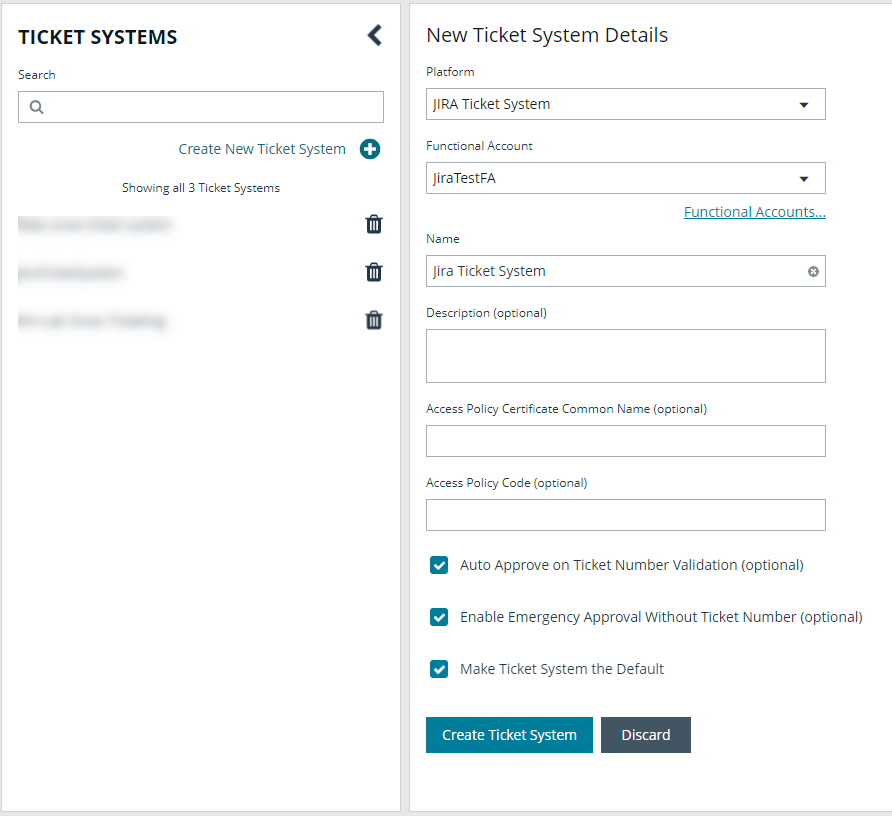
Create a connector for Jira ticket system
To integrate your Jira ticket system with Password Safe requests, you must create a new connector in BeyondInsight as detailed below.
- From the left sidebar in BeyondInsight, click Configuration.
The Configuration page displays. - Under General, click Connectors.
The Connectors page displays.
- In the Connectors panel, click Create New Connector +.
- Enter a name for the connector.
- Select JIRA Ticket System from the Connector Type dropdown.
- Click Create Connector.
The JIRA Ticket System form displays in the right panel. - Set the options on the form as follows:
- Connector Name: The connector name can be any name.
- Instance URL: The full URL for your Jira instance.
- Username: Enter an account to access to your Jira instance.
- For a hosted Jira instance, this is an email address.
- For a local Jira instance, this is a username.
- Password: Enter a password. For a hosted Jira instance, you must create an API key for the password. These credentials are used only on this configuration page to test connectivity.
- Ticket Field Mappings: Add field mappings between Jira fields and literal values in the Password Safe ticket system. This is useful for validating the ticket state. Username is validated separately. Available fields can vary per Jira instance.
- Click + Create Field Map.
- Complete the form.
- Click Create Mapping.
- The mapping is added to the grid.
- Click Test Connector to ensure connectivity to your Jira instance is successful.
- Click Create Connector to save it.

